
I recently got my hands on the Ultrathin 16x32 Red LED Matrix Panel from Seeedstudio. It’s a bright, compact display that’s perfect for fun embedded projects.
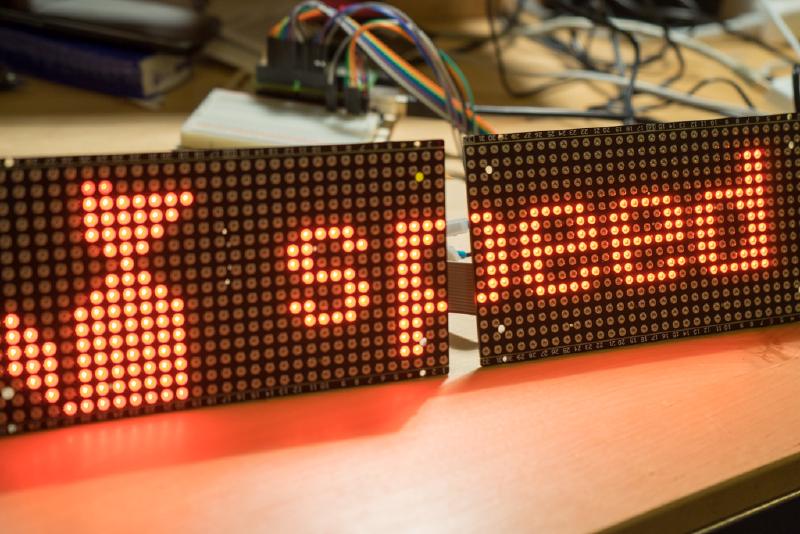
Unfortunately, I noticed some flickering while driving the display with an Arduino - the microcontroller struggles a bit to keep up.
Arduino Library#
Seeedstudio offers an Arduino library on GitHub, released under the Apache License. It’s easy to get started, but I was alerted by a reader that the code may not be the most efficient and could benefit from using the SPI ports for better performance.
Stay tuned - I plan to update the code to improve speed and reduce flickering.
Wiring the Panel#
Documentation for the panel is lacking, but by examining the library source code, I figured out the necessary connections. The constructor used by the library looks like this:
LEDMatrix::LEDMatrix(uint8_t a,
                     uint8_t b,
                     uint8_t c,
                     uint8_t d,
                     uint8_t oe,
                     uint8_t r1,
                     uint8_t stb,
                     uint8_t clk)
These parameters map directly to the labeled pins on the matrix.
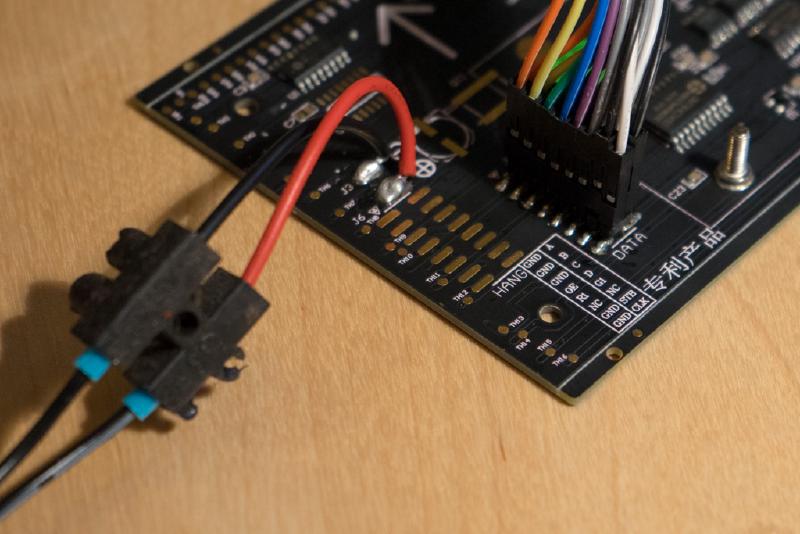
So, I connected the following pins to the Arduino’s digital outputs: a, b, c, d, oe, r1, stb, and clk. Ground (gnd) goes to the Arduino GND, and g1 and nc can be ignored. Make sure the panel is powered by a solid 5V supply.
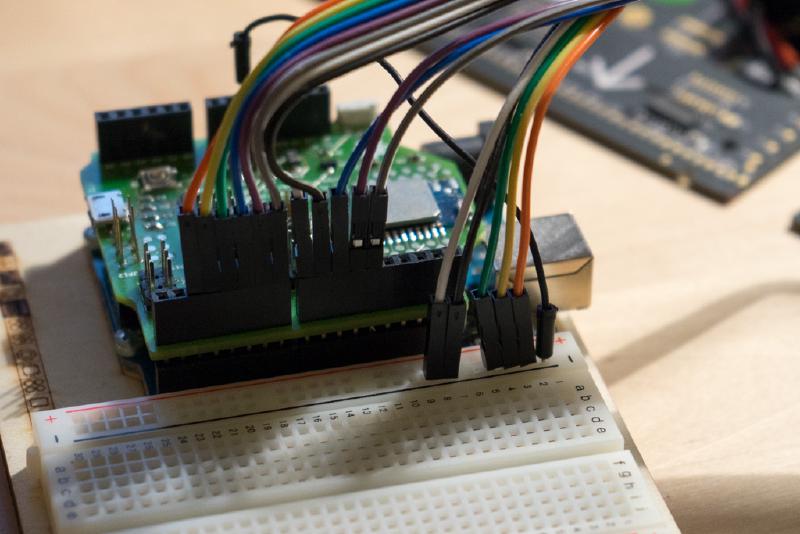
Here’s what my setup looked like:
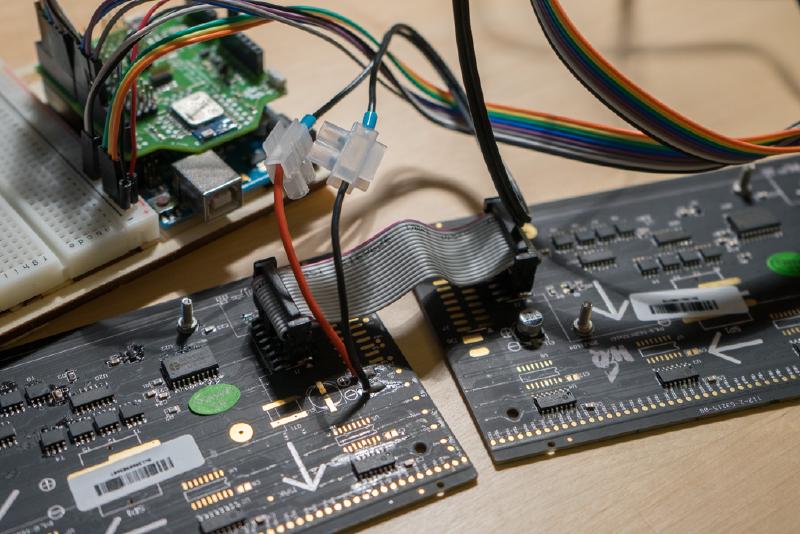
Chaining Multiple Panels#
A nice feature of these panels is their ability to daisy-chain. Seeedstudio provides interconnect cables, making it easy to expand your display horizontally or vertically.
According to the library documentation, up to 6 panels can be connected in sequence. Here’s a visual layout from the source comments:
Single row:
  (0, 0)
    +--------+--------+
    |    1   |    0   |
    |        |        |<----- Arduino
    +--------+--------+
                   (64, 16)
Multiple rows:
Coordinate & Connection (Arduino -> panel 0 -> panel 1 -> ...)
  (0, 0)
    +--------+--------+--------+
    |   5    |    3   |    1   |
    |        |        |        |
    +--------+--------+--------+
    |   4    |    2   |    0   |
    |        |        |        |<----- Arduino
    +--------+--------+--------+
                            (96, 32)
This display is a fun way to add some low-res visual output to your Arduino projects, though keep in mind the limitations of the hardware.