Install and configure a Raspberry Pi from MacOS using the command line
Table of Contents
Occasionally I find myself in the position of acquiring and configuring a new raspberry pi. I always forget the specific values of the dd command and with the more recent changes in how Raspberry Pi OS manages ssh and username I thought it was worth a writeup.
Disclaimer: You should probably use the installer from the Rasbperry Pi website.
Requirements #
- Make sure the
xztools are installed (brew install xz). - Download the desired version of Raspberry Pi OS.
Installing the image #
For this example I downloaded the 64bit lite version 2022-04-04-raspios-bullseye-arm64-lite.img.xz to my computer.
Before we can install the image, we have to decompress it
cd Downloads
xz -d 2022-04-04-raspios-bullseye-arm64-lite.img.xz
Insert the SD card and list all the block devices. Make sure that all other external disks are removed from the computer in order to avoid undesired data loss.
diskutil list
Scroll through the list and select the disk which is marked as external and matches the disk size we inserted into the SD card reader. In our case it is disk4 with 64 GB of storage. Windows_FAT_32 is a good indicator that this is the external SD card.
/dev/disk4 (external, physical):
   #:                       TYPE NAME                    SIZE       IDENTIFIER
   0:     FDisk_partition_scheme                        *64.0 GB    disk4
   1:             Windows_FAT_32 boot                    268.4 MB   disk4s1
   2:                      Linux                         63.7 GB    disk4s2
Unmount the disk
diskutil unmountDisk /dev/disk4
and flash the decompressed image to the disk. Make sure that the target is /dev/rdisk. If you use /dev/disk4 progress will be slow.
sudo dd bs=1m if=2022-04-04-raspios-bullseye-arm64-lite.img of=/dev/rdisk4
Done! Now, Raspberry Pi OS is installed on the SSD. If you want to configure the Raspberry Pi using an external monitor you can eject the disk and use it right away:
diskutil eject /dev/disk4
Otherwise, follow along to enable SSH and configure a user.
Configuration #
First, we have to enable SSH on the image. Assuming the disk is still mounted, go to /Volumes/boot and create an empty file called ssh:
touch /Volumes/boot/ssh
Now we have to create a user and password, since Raspberry Pi OS no longer has a default username and password.
Make sure openssl is installed through homebrew brew install openssl.
USERNAME=myusername
PASSWORD=mypassword
HASHED_PASSWORD=$(echo "${PASSWORD}" | $(brew --prefix openssl@1.1)/bin/openssl passwd -6 -stdin)
echo "${USERNAME}:${HASHED_PASSWORD}" > /Volumes/boot/userconf
Make sure the content of /Volumes/boot/userconf adheres to
myusername:RANDOM_GAR$LED_CHARACTERS
Finally, eject the disk and plug it into the raspberry pi.
diskutil eject /dev/disk4
And SSH into the machine
ssh mysername@raspberrypi.local
Raspberry Pi Setup #
Configure the RaspberryPi #
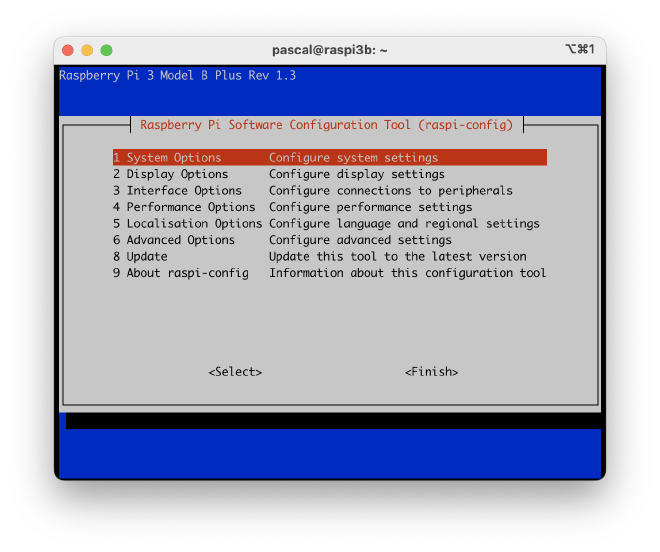
Run raspi-config from the console to change the hostname, configure wifi, update the firmware and expand the filesystem.
sudo raspi-config
Optional - Update the system and install minimal set of options #
Install the minimal set of packages
apt update
apt upgrade -y
apt install -y vim git
Optional - Configure the Locale #
If you have not done so through raspi-config you can add the locales you want to use in /etc/locale.gen (more information here).
And regenerate the locales:
locale-gen
Alternatively you can also use dpkg-reconfigure locales to configure the locale.